
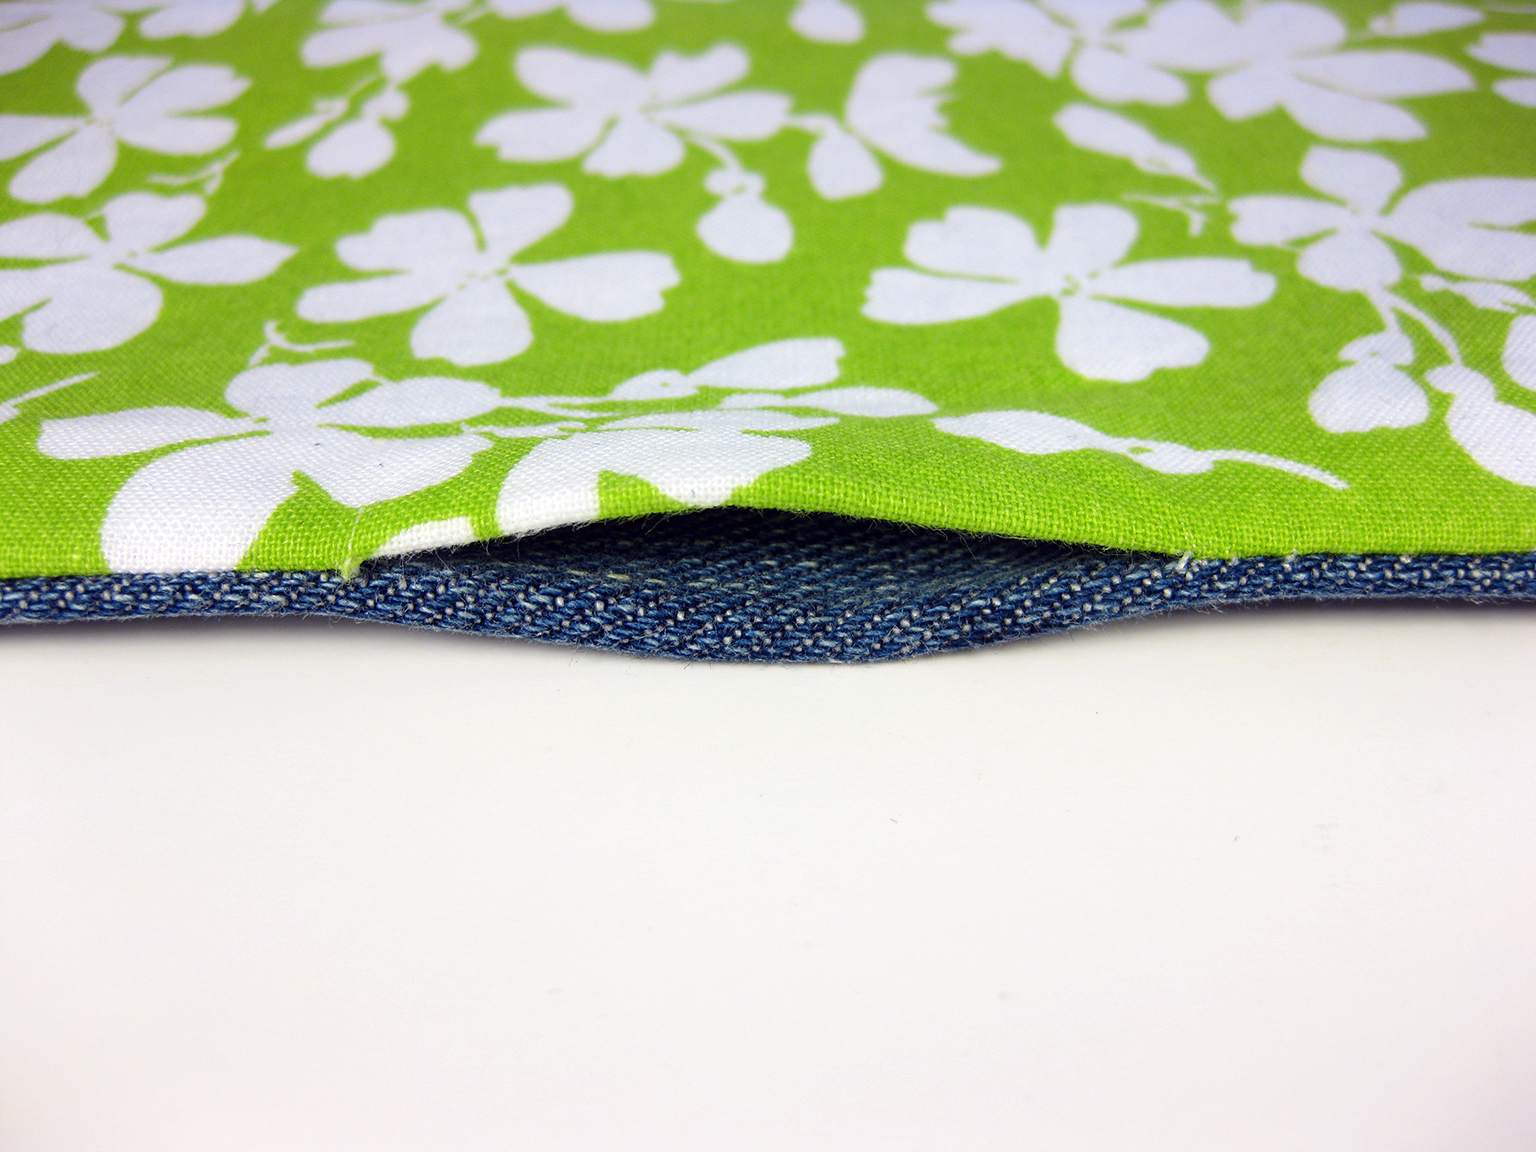
After sewing two pieces of fabric together and turning right-side out, I'm left with this small gap in the seam. Prior to sewing, I've already pressed the seam flat to get a nice, clean, crisp fold to work with.
To start stitching, you first want to secure your thread to your project by making a knot in the seam allowance on the left side of the gap. Grab a few threads in the seam allowance with your needle and pull the thread through, leaving a short tail about 3" long. Pass the needle back through the fabric in the same spot and pull through, leaving a small loop:


Pass your needle through the loop once and draw up the thread. Repeat.


Pull both threads to secure:

Insert your needle into the seam allowance near the knot and push through the fold, bringing it out a little past where the gap ends.


Turn your project around so the gap is to the left of your thread. Insert your needle into the opposite fabric, directly across from where the thread is coming out. Bring your needle out a short distance to the left directly on the fold and pull your thread through, leaving a small loop:


Repeat on the opposite side.

Continue repeating the last two steps until you have 5 to 7 stitches. It's not as important to have perfectly spaced stitches, but it is important that they be directly across from each other!!

Pull the thread tight. Your fabric will bunch up some, so twist it a little bit and smooth it out with your fingers and continue stitching:


Just like in the beginning, you want to take a stitch or two a little bit past where the gap ends. The end of the gap is marked here by the needle:

To finish stitching, make another knot just like the opening knot:


Insert your needle directly through the seam where you made the knot and pull through the fabric a few inches away:

Pull the thread tight to bunch up your fabric just a little bit and cut the thread right at the fabric:

And here's the finished seam!

Not a lot of people really like stitching by hand, including me! However, when you can get results like this, I think it's definitely worth it! It's the small touches like this and attention to detail that really bring your sewing to a whole new level.
Happy stitching,
Brian Hinson
Thank you! I only do this once in awhile and it is always trial-and-error to remember how to make it invisible! Attention to "small" details like this make all the difference, in my view.
ReplyDelete